Use the “tags” section to set your preferences for printing name tags and parent tags. Once you hit next from the check in user screen, you will be asked if you want to print name tags upon check in. If you do, click Yes. Click NEXT.
Next, you’ll be asked which size you’d like to use. We support 2 sizes. The 30256 is the larger shipping size label. The 30334 is a smaller multi-purpose label. You may also choose to create a custom label here. Make your selection, then click NEXT.
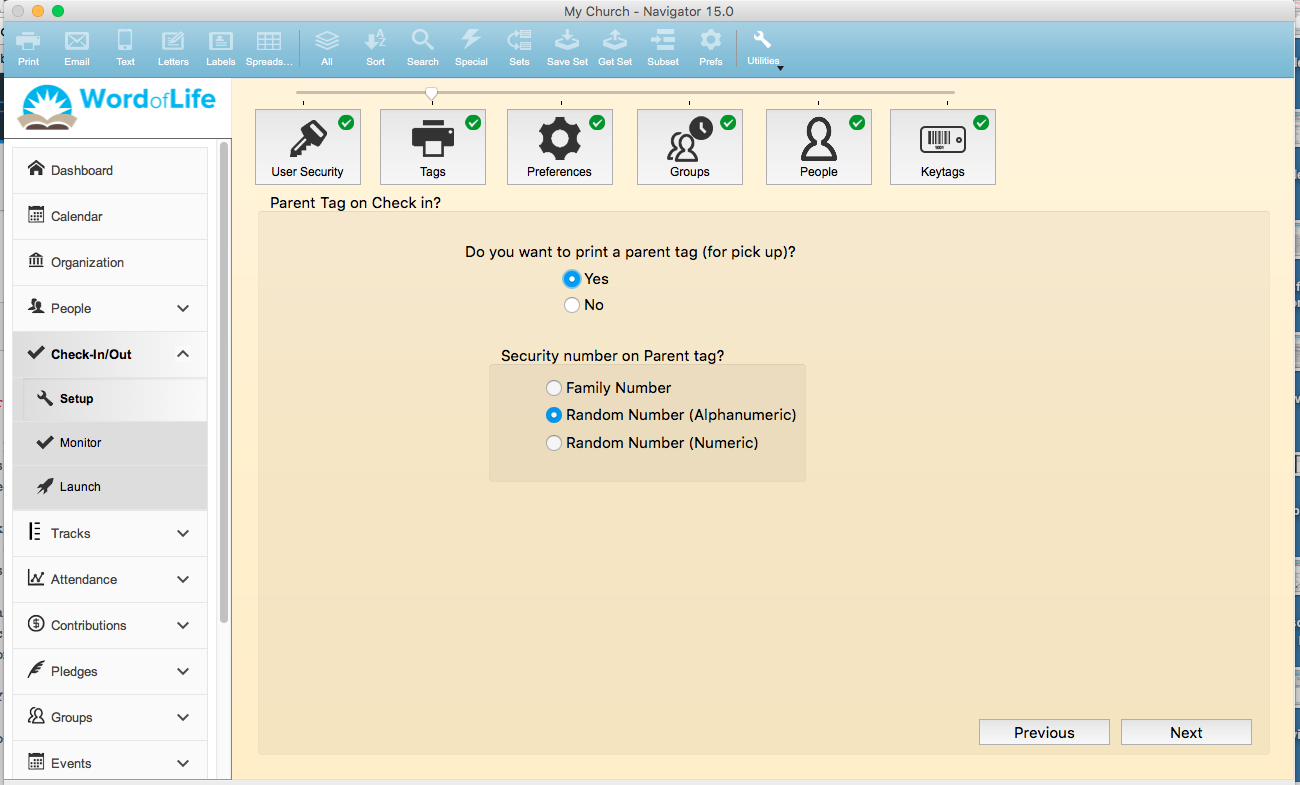
The next window asks if you’d like to print a parent tag for children. The parent tag lists only the security number that matches the child’s name tag. Parent tags are only printed for people in the database whose family position is Child.
Also on the screen you may indicate the number you’d like to use as the security number on the name tag and the parent tag. You may choose from the family number, a random security number that uses numbers and characters or a random security number that is strictly numbers. Click NEXT.
From this window, select the information you’d like printed on the child’s name tag.
Logo –if you are using the 30256 size labels, you can print a ministry logo in the upper left of the label. You don’t want this logo to be a super high resolution logo or it will take a long time to print.
Barcode – some churches print the barcode on the label itself for easy check out.
Security number - choose the security number you’d like printed on the child’s name tag. The badge number is not allowed if you will be printing parent tags. The badge number uniquely identifies the child. The family number is a number assigned to the family in Roll Call. The random security number is randomly determined by the system. The random number will change from week to week. The badge number and family number will not change from week to week.
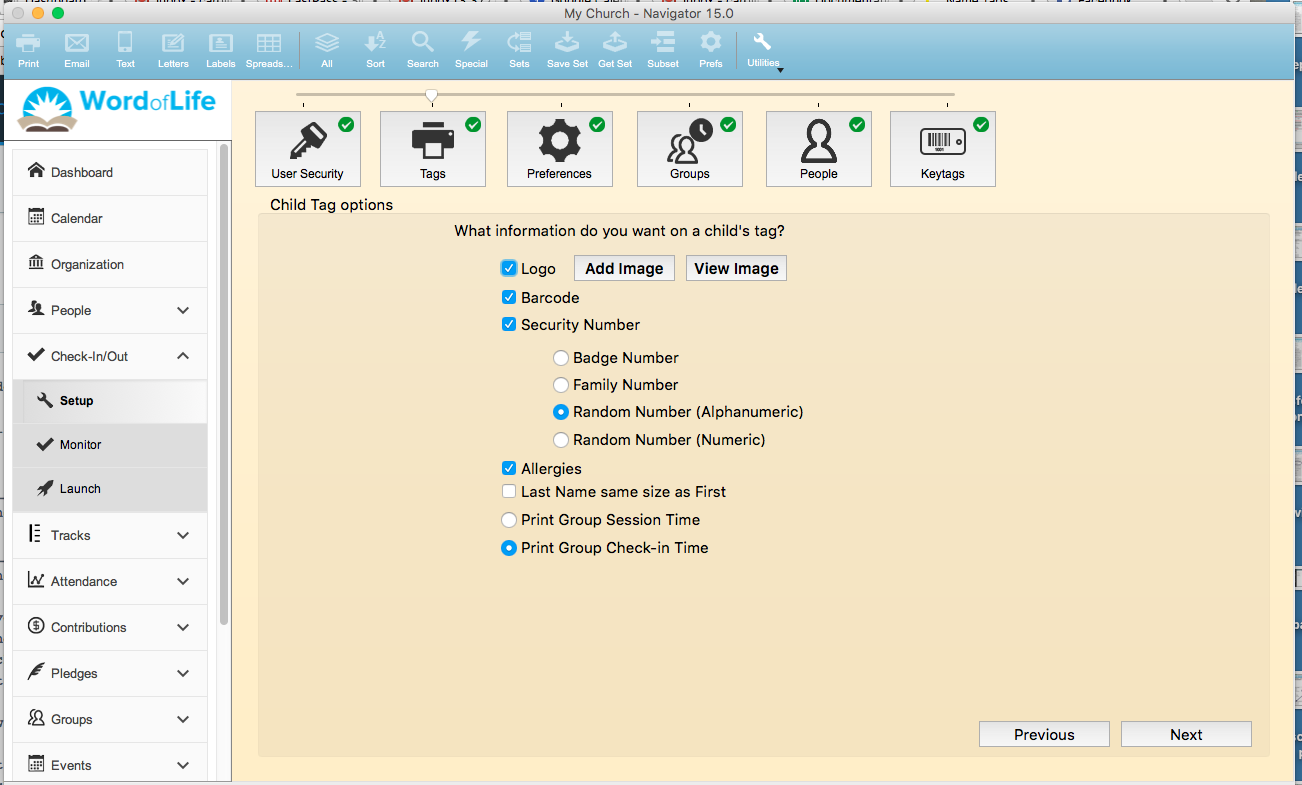
Allergies – any allergies listed in the “Special Needs” comment section will be displayed on the name tag if this is checked.
Last Name same size as First – By default the first name is in a larger font that the last name. If you’d like them to be the same size, check this box.
Session Time or CheckIn Time – You can choose to print the class start time (session time) or the actual time that the child checked into the class on the name tag. Mark your selection.
When you’ve checked the options you’d like for the name tag, click NEXT to choose a logo for Youth and Adult name tags. The youth and adult name tags will only include their name, the date of the event and the group they are checking into. There is no security number, barcode or allergy information printed on an Adult tag.
To add a logo for the Youth/Adult tag, click the box for logo. Click the ADD IMAGE button and navigate to that image file. Click NEXT to continue through the check in set up process. At this point you may want to install your Dymo printer and run a test label to make sure everything looks okay. Once you have the printer installed, click on the PRINT TEST button. If everything prints okay, click NEXT to continue through the set up process.