The absent/present report allows you to find folks who have been absent so many weeks or who have attended so many times in a certain time frame.
To run the Absent/Present report:
- Expand the Attendance menu.
- Click on Reports.
- Highlight Absent Present.
- Enter the date range for the attendance data wish to view.
- On the “Who” tab, select which people you want to evaluate their attendance. You can choose by association, groups, keywords, shepherd areas or search the database. Once you choose your type, you can pick the specific values. For example, if you wanted to evaluate attendance for all your Members and Regular Attenders, choose Associations, then click on Member and Regular.
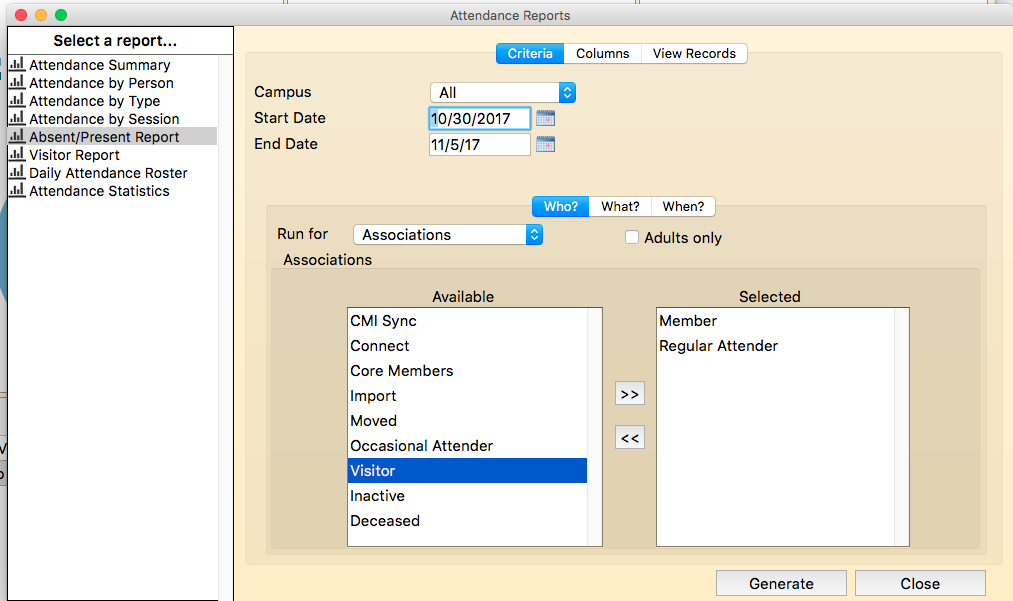
-
Next click on the “What” tab to choose which attendance you want to use in determining who was present or absent. You may select All and it will evaluate attendance for all services and groups. Select Services and choose the specific services to only look at attendance for those services. Select Groups to choose specific groups.
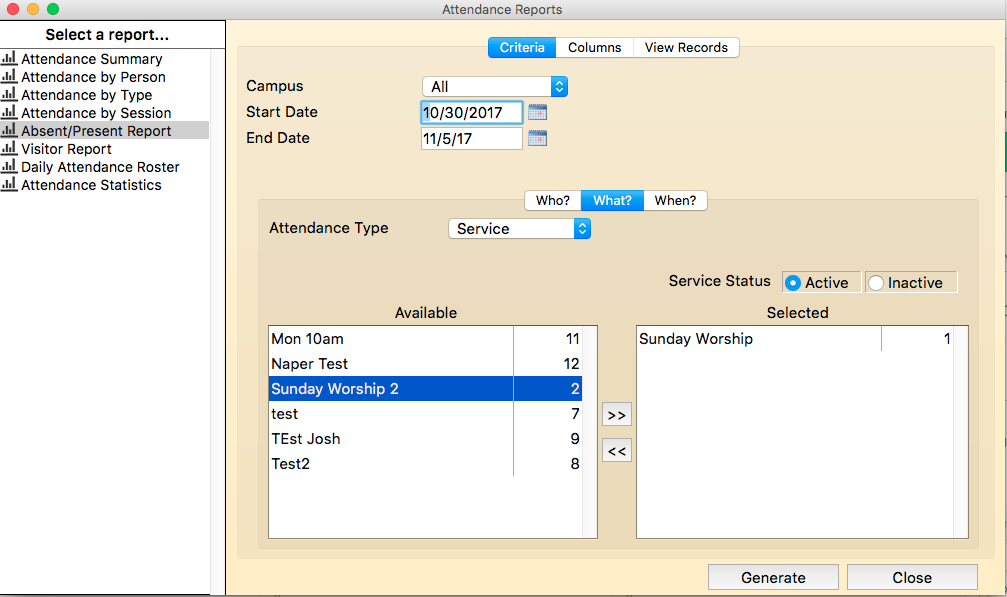
-
Click on the “When” tab to enter your absent present criteria. Enter how many weeks you wish to look back. Choose to find people who were absent or find people who were present. Enter how many times.

-
Next click on the Columns tab to choose the information you wish to include on the report. Double click on a column name from the left column and move it to the middle column.
-
Click on the View Records tab, to review the people that will be included in the report.
-
Click GENERATE to run the report.


On the right side of the Report Output Window are actions that can be performed for the report.
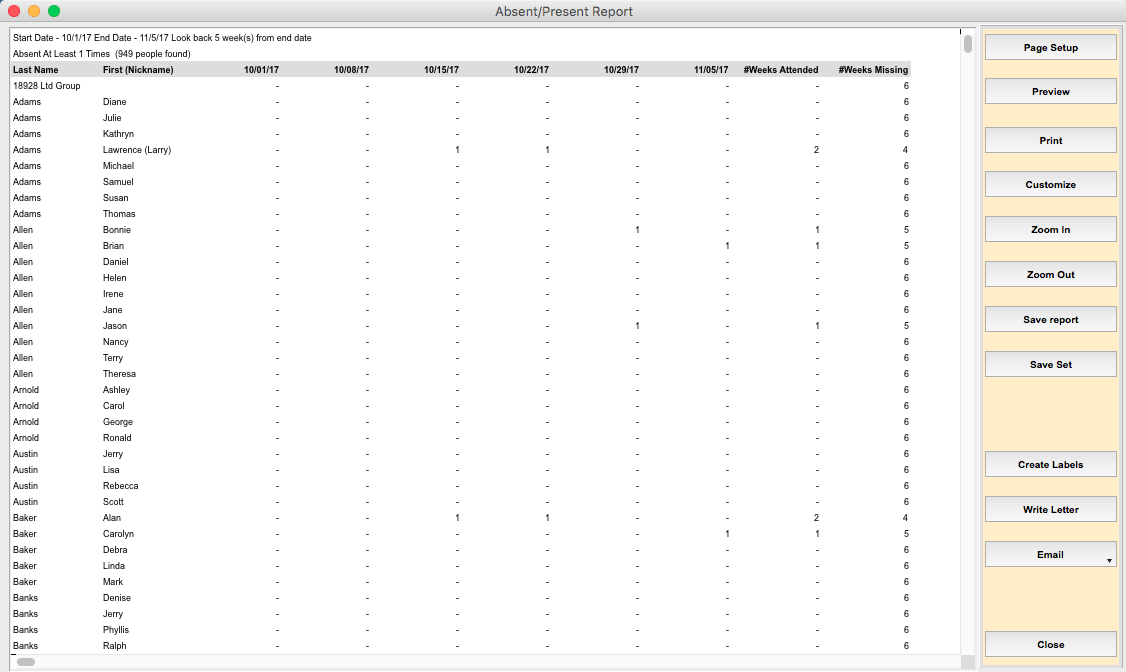
- Click on PAGE SETUP to set your printer and paper size and orientation.
- Click on PREVIEW to preview the output. Do not send the report to the printer from this preview window, it will only send the first page to the printer.
- To change fonts, column sizes etc., click CUSTOMIZE. The report will be displayed in 4D View, Roll Call’s spreadsheet program. Make your modifications here.
- Click on PRINT to send the report to the printer.
- Click ZOOM IN to make the font in the report larger on your screen.
- Click ZOOM OUT to make the report font smaller on your screen.
- To save the report as a tab delimited file or html document, click SAVE. Enter the location and name of the file to be saved.